
How to Improve Real Estate Photos: Shoot and Edit Checklist
Most weak listing photos are decided before editing starts: lights left off, blinds half closed, a phone held at chest height, a bin still in shot. Fix those and the edit has something to work with. This page runs the shoot in order, then the correction pass afterwards.
If you want the editing side explained first, how AI real estate editing works covers what a correction pass can and cannot change.
1. Prepare the room
- Clear counters, close toilet lids, hide bins, cables and pet bowls. Editing does not remove objects, so anything in the frame stays in the frame.
- Turn every lamp and ceiling light on in the room you are shooting, including the ones you would not normally use.
- Open blinds fully or close them fully. Half-open slats throw striped shadows that no correction pass can tidy up.
- Wipe mirrors and glass. Smears read as haze once the image is brightened.
- Shoot rooms in daylight where you can, and leave the brightest west-facing rooms for the morning.
2. Shoot it properly
- Hold the camera around chest to hip height, roughly 1.2 to 1.4 metres. Eye level makes ceilings dominate and floors vanish.
- Keep the camera level. Tilting up or down bends the verticals, and that is a geometry problem no grading pass will undo later.
- Shoot from a corner so two walls are visible. It gives the room depth instead of a flat wall of paint.
- Frame so a window is off to one side rather than dead centre behind the subject of the shot.
- Expose for the room, not the window, but stop short of letting the window go completely white. Detail that clips to pure white is gone for good.
- Take two or three frames per room at slightly different exposures so you have a choice when you edit.
Composition, framing and verticals are decided here and only here. Nothing downstream changes the geometry of the room, so a tilted frame or a badly chosen corner has to be reshot rather than repaired.
3. Correct colour and exposure afterwards
- Start with white balance. Neutralising the yellow or blue cast from indoor bulbs fixes more of the impression than any other single change.
- Lift exposure and shadows so hallways, corners and dark cabinetry become legible.
- Hold the highlights back so partially bright windows recover some of the view.
- Add contrast last, gently. Interiors that get pushed hard start to look like brochures rather than rooms.
- Run the whole set the same way so the kitchen and the living room feel like one property.
Rooms that came out badly underexposed usually want a dedicated brightening pass before anything else. When you are choosing which tool to run all of this in, the best AI real estate photo editor comparison lays out the options.
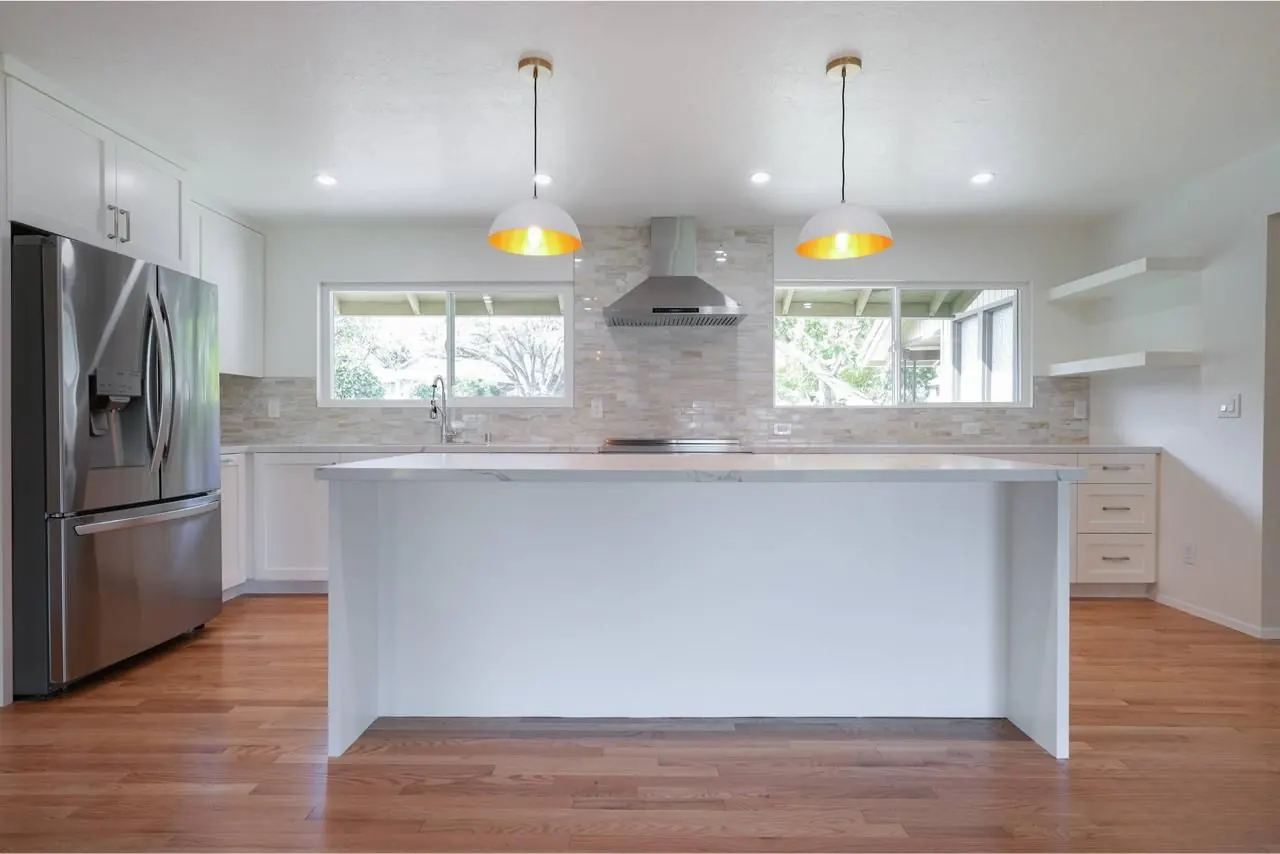 Before
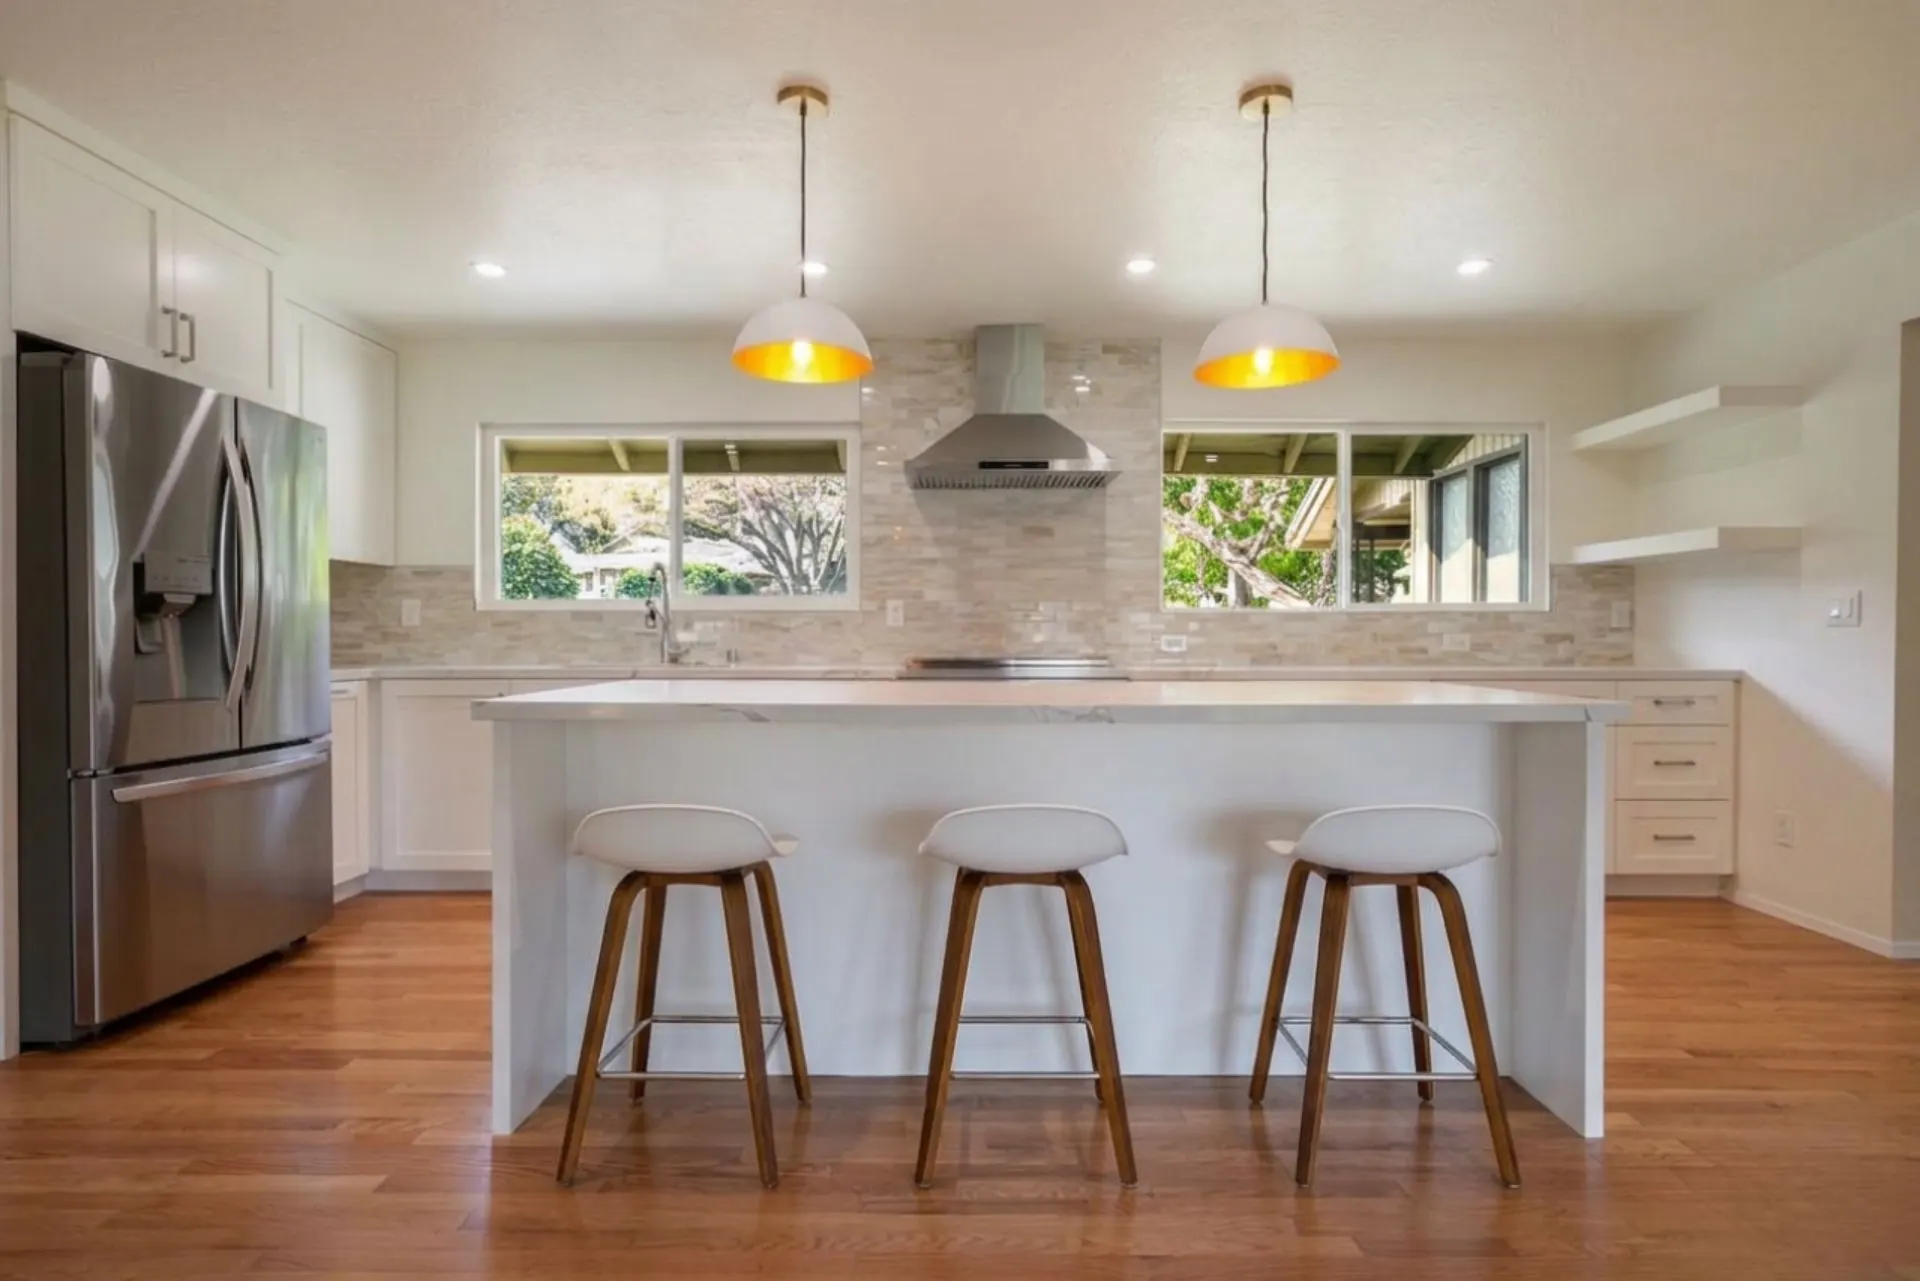 After
AfterSame listing photo after the correction pass. Exposure, white balance and contrast changed; the room itself did not.
Frequently Asked Questions
What makes the biggest difference to a listing photo?
Lights on, blinds fully open or fully closed, camera held low and level, and a room that has been tidied. Those four take minutes and decide most of the result before any editing starts.
What height should I shoot interiors from?
Roughly chest to hip height, about 1.2 to 1.4 metres. Higher makes ceilings dominate the frame; lower exaggerates the floor.
Can editing fix crooked walls or a tilted camera?
No. ProGrade AI corrects exposure, colour and contrast. It does not change perspective, straighten verticals or alter the geometry of the room, so leaning walls have to be avoided at capture time.
What if a window came out completely white?
Partially bright windows can regain some detail during the highlight pass. A window that clipped to pure white holds no data to recover, so the fix is to reshoot that room slightly darker.
Should I edit each photo individually?
Correct each room for its own lighting, but keep the overall look consistent across the set. A gallery that drifts in brightness and colour from room to room reads as sloppy even when each frame is fine on its own.
Working from plans rather than photographs? ProGrade AI can render from a floor plan with chosen materials or turn a floor plan into a 3D image.
Related AI Tools
- →Before and After Gallery
- →How AI Color Grading Works
- →Fix Blurry Photos
- →Brighten Dark Photos Online
- →Fix Underexposed Photos
- →Remove Yellow Tint
- →Correct White Balance with AI
- →Make Photo Professional
- →Improve Photo Quality
- →Best Lightroom Alternative
- →Best AI Photo Editor
- →How AI Real Estate Editing Works
- →Best AI Real Estate Photo Editor
- →Auto Enhance Listing Photos
- →Interior and Architectural Photo Editing
- →Restore Old Photos with AI
- →Fix Low Light Photos with AI
- →AI Headshot Photo Editor
- →Portrait Skin Tone Color Correction
- →Wedding Photo Color Grading
- →Batch Photo Color Correction
- →Ecommerce Product Photo Color Accuracy
- →Fix Grainy Photos with AI
- →AI Photo Editor for Social Media
- →Food Photography Editing AI
- →One-Click Photo Enhancer
- →Photo Editor Without a Subscription
- →Photo Editor vs Adobe Subscription
- →Airbnb Photo Editing AI
- →Enhance Photos Instantly
- →AI Photo Color Correction Tool
- →Fix Phone Camera Photos with AI
- →Auto Enhance Listing Photos
- →AI Photo Editor for Small Business
- →What Is ProGrade AI
- →3D Rendering with Custom Materials
- →Turn Floor Plan into 3D Image